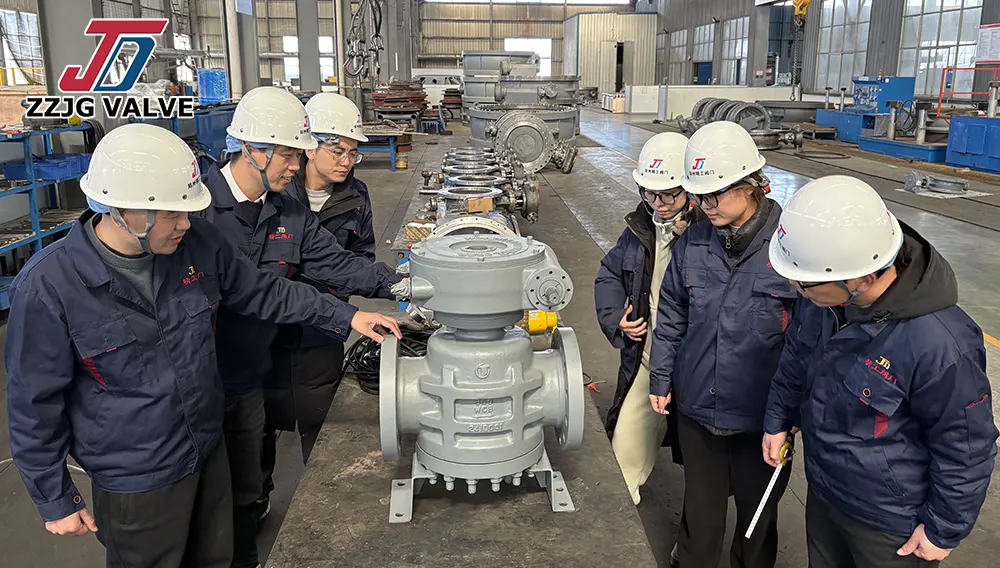
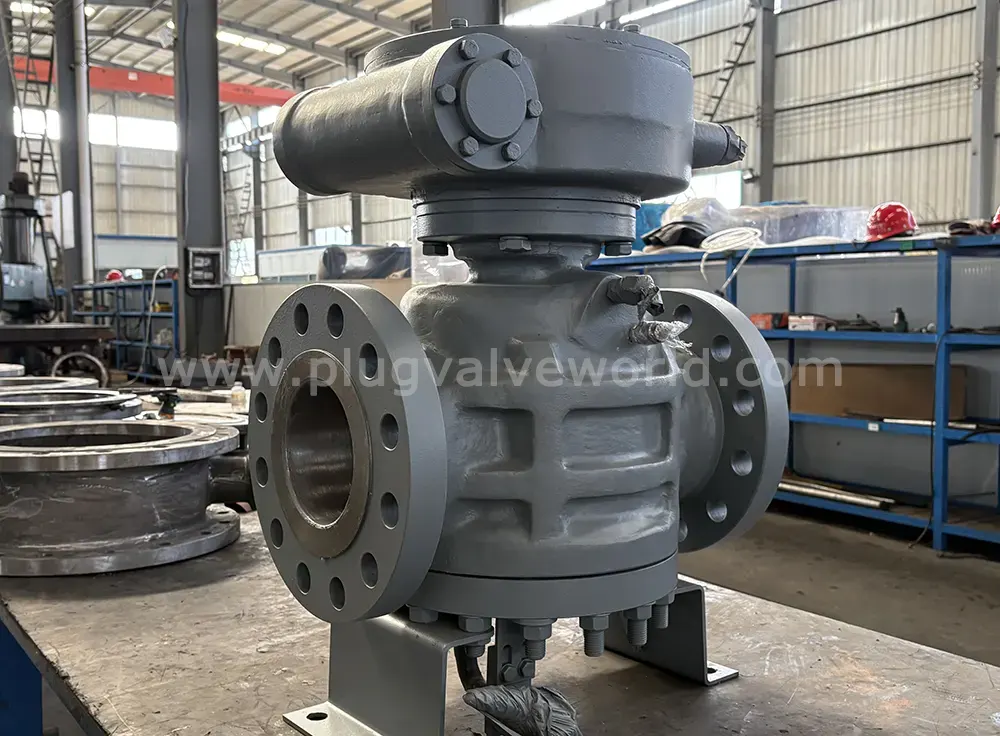
Core Steps for Lubricating Plug Valves

1. Preparation & Safety:
a. System Isolation and Pressure Relief: This first and most important step! Make sure the pipeline system have been isolated thoroughly (including closing upstream and downstream valve) . Pipe network pressure has been entirely relieved to atmospheric pressures. Opening the lubricated plug valve itself will also help relieve pressure, too.
b. Energy Isolation (Tagout & Lockout): When we work in a industrial environment, pls always remember to follow tagout and lockout procedures, helping us to prevent accidental valve operation and system pressurization.
c. Clean Work Area: Remove debris, oil, dust from around the valve which may affect the operating process.
d. Prepare Tools and Materials: Appropriate lubricating grease, grease gun (if necessary), cleaning cloth, brush, wrenches or specialized tools and so on.
e. Personal Protective Equipment: Wear safety glasses, gloves, and protective clothing, our engieer always do this.
2. Clean the Valves (Critical!) :
a. Use a clean cloth or brush to remove dirt, old grease, rust and debris from the outside of the valve, especially around the valve stem/valve plug top and the grease injection port (if any). If the valve has a grease injection port, clean its top.
b. Internal cleaning (ideal situation): If the valve structure permits and the condition requires, fully open and close the valve several times, using the medium flow (if it is a cleaning medium) or manual wiping to try to remove old grease and impurities on the valve plug and the sealing surface of the valve body. For severely contaminated or stuck valves, it may be necessary to partially or completely disassemble for thorough cleaning. Note: If the valve itself has a grease injection structure (such as a grease injection port), this step is usually accomplished through the subsequent grease injection process to squeeze out the old grease.
3. Select the Appropriate Lubricating Grease:
Special valve plug lubricating grease: It is highly recommended to use the grease specifically designed for valve plugs. This type of grease typically has the following characteristics:
High viscosity/cohesiveness: It can adhere to the metal surface and is not easily washed away.
Good sealing property: It can fill small gaps and help with sealing.
Resistance to media: It can resist the erosion and dissolution of the medium (water, oil, gas, chemicals, etc.) that the valve is transporting.
Temperature resistance: It is suitable for the working temperature range of the valve. Compatibility with sealing materials: It will not cause swelling or degradation of valve seats or O-rings (if any), etc., which are elastic sealing components.
Common types:
Petroleum-based lubricating grease: General type, suitable for general conditions (water, oil, gas).
Synthetic hydrocarbon-based lubricating grease: More stable performance, wider temperature range, better resistance to media.
Silica-based lubricating grease: Suitable for a wide temperature range (especially low temperatures) and some chemicals, but its sealing performance and compressive resistance may be inferior to hydrocarbon-based grease, and it is not suitable for occasions with high sliding friction.
Perfluoropolyether lubricating grease: The highest level of chemical resistance and temperature resistance, suitable for strong corrosive media and extreme temperatures, but expensive.
Refer to the valve manual: The most reliable method is to consult the operation and maintenance manual of the valve manufacturer, as they will specify the recommended lubricating grease model.
4. Lubrication Procedure:
Lubrication via the grease injection port (most common):
① Most industrial plug valves are equipped with a grease injection port on the side or top of the valve body.
② Load the grease injection gun with the correct lubricant and evacuate the air from the gun barrel.
③ Securely connect the nozzle of the grease injection gun to the grease injection port of the valve.
④ Gently and steadily operate the handle of the grease injection gun to inject the new lubricant into the valve chamber.
Observation:
The new lubricant may be squeezed out from the sealing surface between the plug and the valve body (usually on the downstream side) or from the valve stem packing. This is a normal phenomenon, indicating that the old grease and impurities are being expelled.
Continue to inject until the lubricant squeezed out from the squeeze hole or gap completely turns into clean new grease. This indicates that the old grease has been fully replaced.
Note: Do not over-lubricate. Excessive lubrication may cause abnormal increase in the torque required for valve operation (especially when the grease becomes hard at low temperatures), and even damage internal components (such as the soft valve seat).
Manual application of lubrication (for small valves without grease injection ports or for maintenance):
If the valve does not have a grease injection port or requires more thorough lubrication (such as after disassembly), manual application is necessary.
Fully open the valve.
Use clean fingers, brushes, or scrapers to apply an adequate amount of grease evenly and completely to the entire outer surface (sealing surface) of the plug and the inner surface of the valve body's sealing cavity. Ensure that all sliding contact areas are covered.
If the valve stem has an independent stuffing box, it is also necessary to apply an appropriate amount of grease inside the stuffing cover or around the valve stem. Important: Avoid introducing dirt into the valve chamber.
5. Operate Valve to Ensure Uniform Distribution of the Lubricant:
After the lubrication is completed (whether by injection or manual application), slowly and repeatedly rotate the valve from the fully open position to the fully closed position, and then back again. Repeat this several times (for example, 3-5 times).
Purpose:
Distribute the lubricant evenly over all contact areas of the plug and the valve body sealing surface.
Ensure that the lubricant fully fills any possible small gaps, forming an effective lubrication and sealing film.
Check if the valve operation becomes smooth.
6. Inspection and Testing:
Operational Smoothness: Check whether the valve operation is smooth and effortless, without any sticking or abnormal resistance.
Leakage Test (after system recovery): After confirming that the system has safely restored pressure, carefully inspect the valve stem packing area and the connection points at both ends of the valve body for any leakage. For the shut-off valve, test its sealing performance (conduct pressure retention tests in accordance with relevant procedures or visually/using instruments to check for leakage at the downstream end).
Cleaning: Remove the excess lubricating grease and oil stains extruded from the valve's exterior, keeping the equipment clean.
Important Notes
Frequency: The lubrication frequency depends on the usage frequency of the valve, the working medium, temperature, pressure, and the design of the valve itself. In harsh conditions (such as frequent operation, particles-containing medium, high temperature, high pressure), more frequent lubrication is required. Refer to the manufacturer's recommendations or develop a maintenance plan based on experience.
Glycol Compatibility: Never mix different types of lubricants! Mixing lubricants with different base oils or thickeners may lead to chemical reactions, hardening, softening or failure. If changing the lubricant type, the old lubricant must be completely removed.
Principle of Appropriate Amount: Insufficient lubrication will cause wear and jamming, but excessive lubrication is also harmful (increasing torque, possibly damaging soft seals, wasting lubricant).
Injection Pressure: When using an injection gun, the pressure should be moderate.
Excessive pressure may damage the injection nozzle check valve, valve seat (especially soft-sealed plug valves) or even the valve body.
Wear or Damage: If the valve still operates very difficultly or leaks severely after lubrication, it may mean that the internal parts of the valve have worn out (such as scratches or deformation of the ball or valve body sealing surfaces), valve seat damage or other mechanical failures. At this time, lubrication alone cannot solve the problem, and repair or replacement is required.
Non-lubricating Plug Valves: Some specially designed plug valves (such as certain fully lined plug valves or specific metal-sealed plug valves) may be designed to be lubricant-free or only lubricated during installation. Be sure to follow the manufacturer's instructions.
Summary
Lubricating the stop valve is a process that requires care and adherence to specifications. Safety isolation and pressure relief are the prerequisites, thorough cleaning is the foundation, selecting the correct specialized lubricating grease is the key, applying it in the right amount and evenly, and fully operating and distributing it are the core steps, and finally conducting functional and leakage tests is the guarantee. Strictly following the maintenance manual provided by the valve manufacturer is the best way to ensure the lubrication effect and the long-term reliable operation of the valve. If you have the specific model of the valve at hand, referring to its manual will provide the most accurate guidance.
Previous: What is a Lubricated Plug Valve?